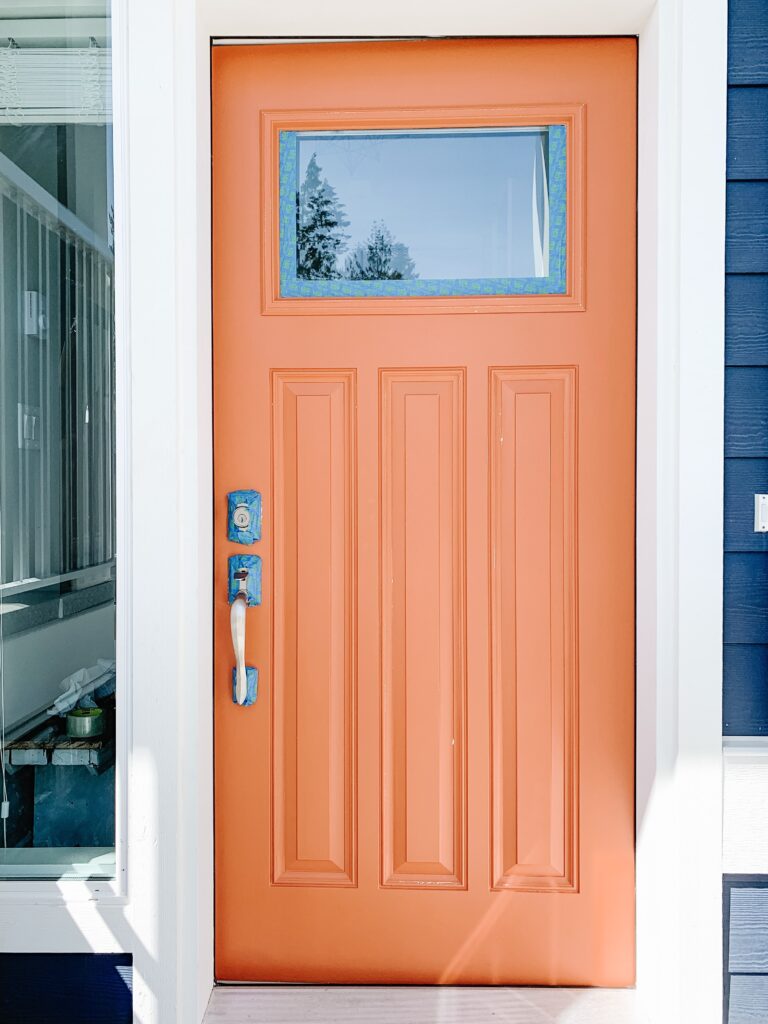
After living with our orange front door for over a year, I felt it was time for a change! Our exterior is a dark blue with crisp white trim. I had always imagined our home with a deep red door. After going through countless samples in every brand I fell for “posh red” by Valspar at Lowe’s .
Here’s step by step how I went from orange to red!
1. First, I thoroughly cleaned the door with T.S.P. Cleaner and let it dry overnight.
2. Next, I lightly sanded the door with medium grit sandpaper . After sanding I wiped off any dust and debris.
3. Next, I used painter’s tape around the handle, lock, window, and sides of the door.
4. Next up? The fun part! I applied the first coat of paint. I used a wide angled brush to easily get into the details on the door.
5. Coat number 2 was next! I let the first coat dry for 4 hrs before starting the second.
6. Coat number 3 was the same as one and two. Wait 4 hrs between coats.
7. For coat number 4 I switched to a small foam roller. I used the roller on the flat surfaces of the door to give better coverage without any brush lines. After the roller I used the angled brush to get into any tight areas with detail.
8. Lastly, I removed the painter’s tape 24 hrs after the forth coat and completed any additional fine tuning and touch ups.
Voila! You’re done!
Reds are a tough colour to paint with! They require quite a few coats as they are notorious for not covering well. I definitely encourage you to go into a similar project with some patience! I also recommend picking a day or two that is consistent weather to leave your front door open between coats.
Explore more
VIEW ALL
We Painted Our Dining Area & Suddenly I Want to Host Thanksgiving…
Nov
19
We Painted Our Dining Area & Suddenly I Want to Host Thanksgiving…
Nov
19
We Painted Our Dining Area & Suddenly I Want to Host Thanksgiving…